Optimal Timing for Textured Ceiling Removal
Understanding the optimal timing for textured ceiling removals can influence the quality and safety of the process. Various factors, including seasonal conditions and home readiness, should be considered to ensure effective and efficient removal.
Choosing a dry, mild season minimizes moisture-related issues during removal and ensures better ventilation.
Performing removals when the property is unoccupied reduces disruption and exposure to dust and debris.
Scheduling during periods with favorable weather can facilitate quicker drying and curing times post-removal.
Allow sufficient time for surface preparation and post-removal cleanup to ensure safety and quality.
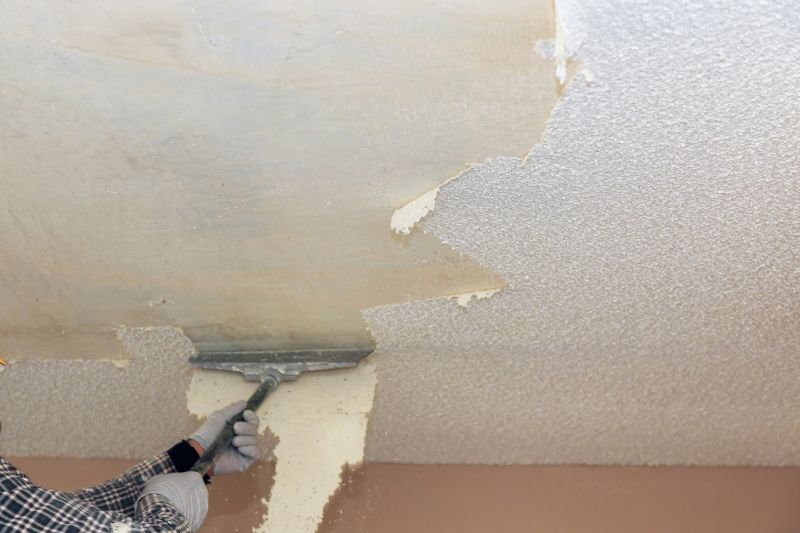
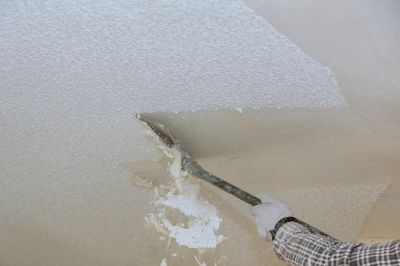
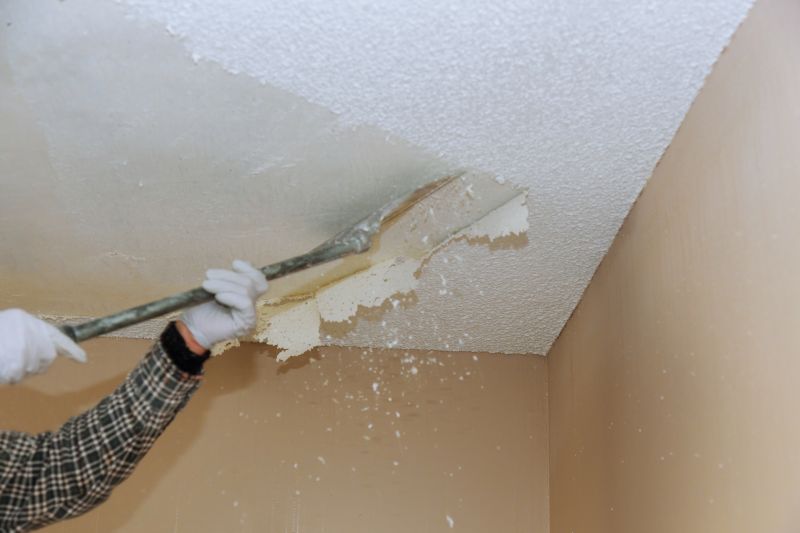
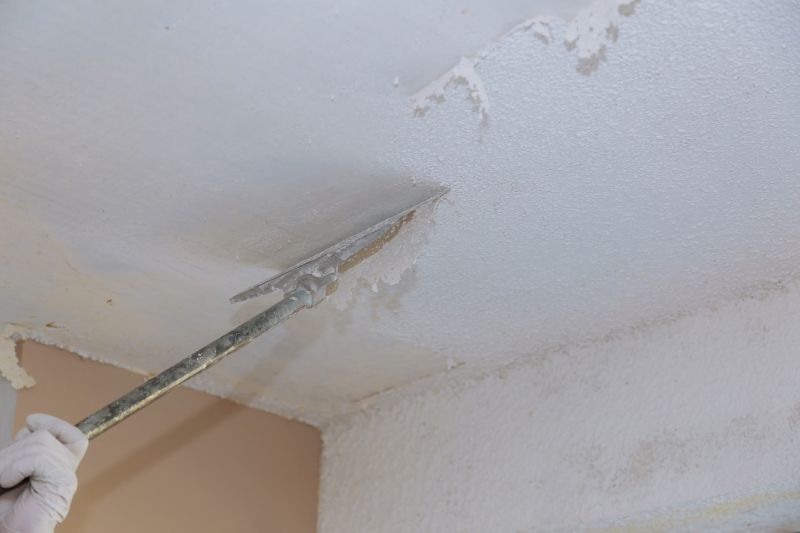
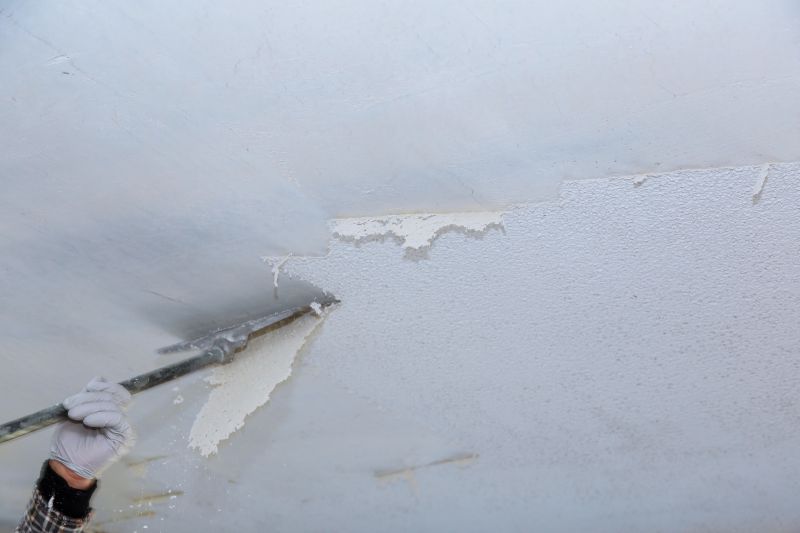
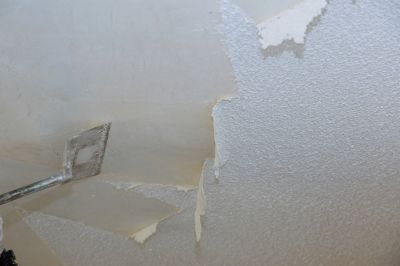
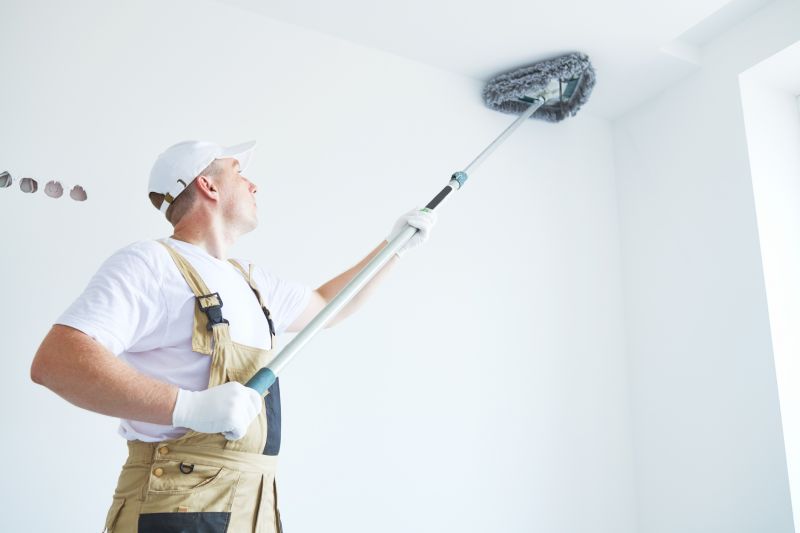
Professional removal often involves wetting and scraping techniques to safely eliminate textures.
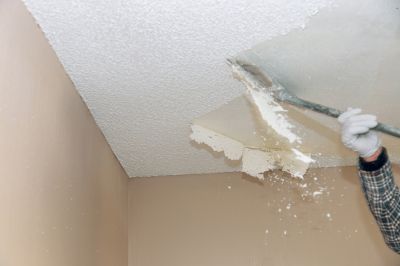
Covering furniture and sealing vents helps contain dust during the removal process.
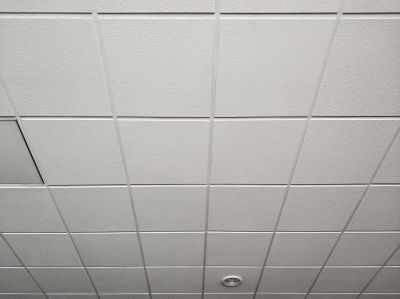
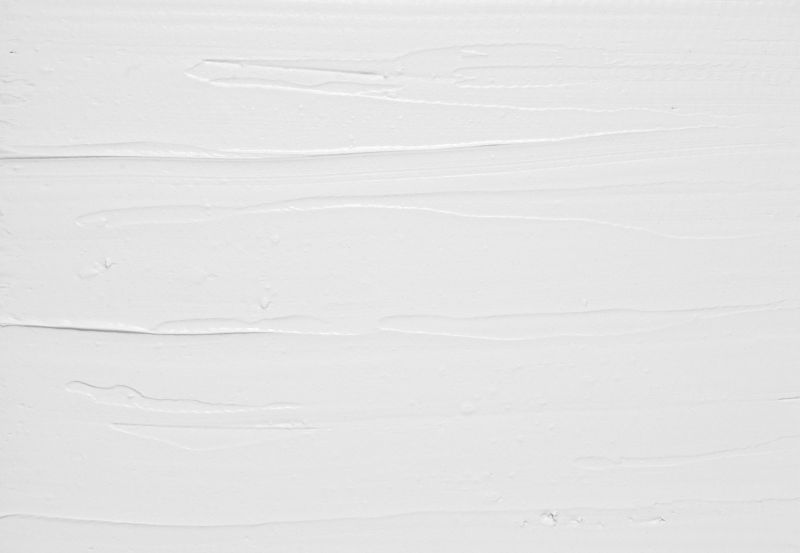
The ceiling surface is prepared for finishing or repainting after texture removal.
Ways to make Textured Ceiling Removals work in tight or awkward layouts.

Popular materials for Textured Ceiling Removals and why they hold up over time.
Simple add-ons that improve Textured Ceiling Removals without blowing the budget.
| Timing Factor | Details |
|---|---|
| Season | Dry seasons reduce moisture issues during removal. |
| Occupancy | Unoccupied homes allow for safer, less disruptive work. |
| Weather | Favorable weather conditions speed up drying times. |
| Project Readiness | Adequate preparation minimizes delays. |
| Post-Removal Needs | Scheduling allows for proper surface finishing. |
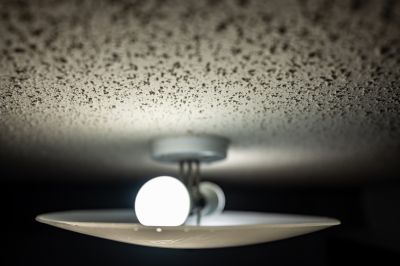
Textured ceiling removals involve specialized techniques to safely eliminate textured finishes such as popcorn or swirl patterns. The process typically includes wetting the surface to loosen the texture, followed by scraping and smoothing the ceiling. Proper preparation, including covering furniture and sealing vents, helps contain dust and debris. After removal, the ceiling may require patching, sanding, and repainting to achieve a uniform appearance.
Covering surfaces prevents dust spread during removal.
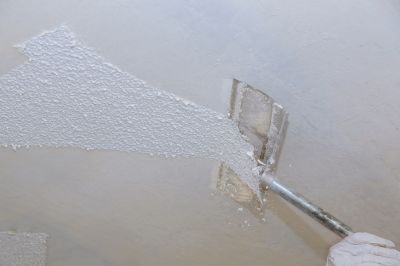
Wetting and scraping techniques are used to remove textures efficiently.
Smoothing and patching prepare the ceiling for finishing.
Repainting restores the ceiling’s appearance after texture removal.
High-end options that actually feel worth it for Textured Ceiling Removals.
Finishes and colors that play nicely with Textured Ceiling Removals.
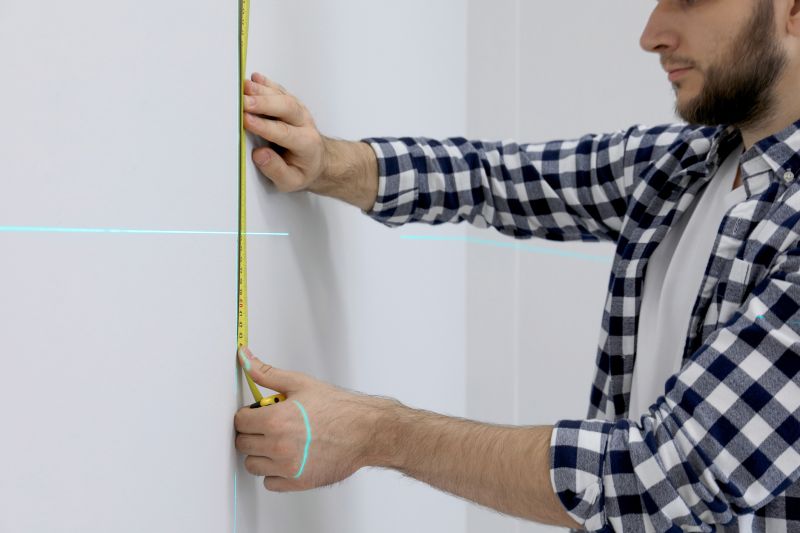
Little measurements that prevent headaches on Textured Ceiling Removals day.
A 60-second routine that keeps Textured Ceiling Removals looking new.
Choosing the right time for textured ceiling removal can lead to a smoother process and better results. Proper scheduling ensures the work aligns with environmental conditions and household needs, reducing delays and complications. Consulting with professionals can help determine the most suitable timing based on specific project requirements.
Interested in textured ceiling removals? Filling out the contact form is a straightforward way to explore options and schedule a consultation tailored to specific needs.