Textured Ceiling Removal Services Overview
Visitors will learn about textured ceiling removal services and how local contractors can handle the work in their area.
- - Residential homeowners seeking to update or refresh their ceilings by removing textured finishes.
- - Commercial property managers aiming to improve ceiling aesthetics and create a modern look.
- - Renovation projects where textured ceilings are being replaced to achieve a smoother, cleaner appearance.
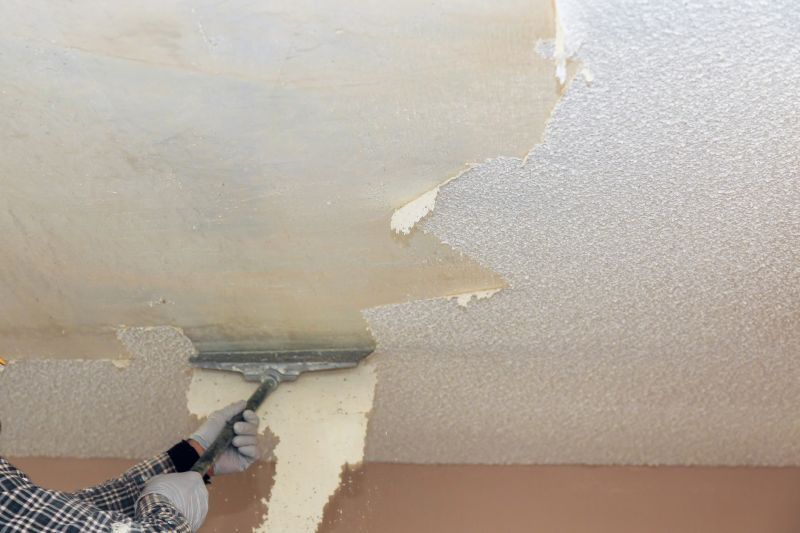
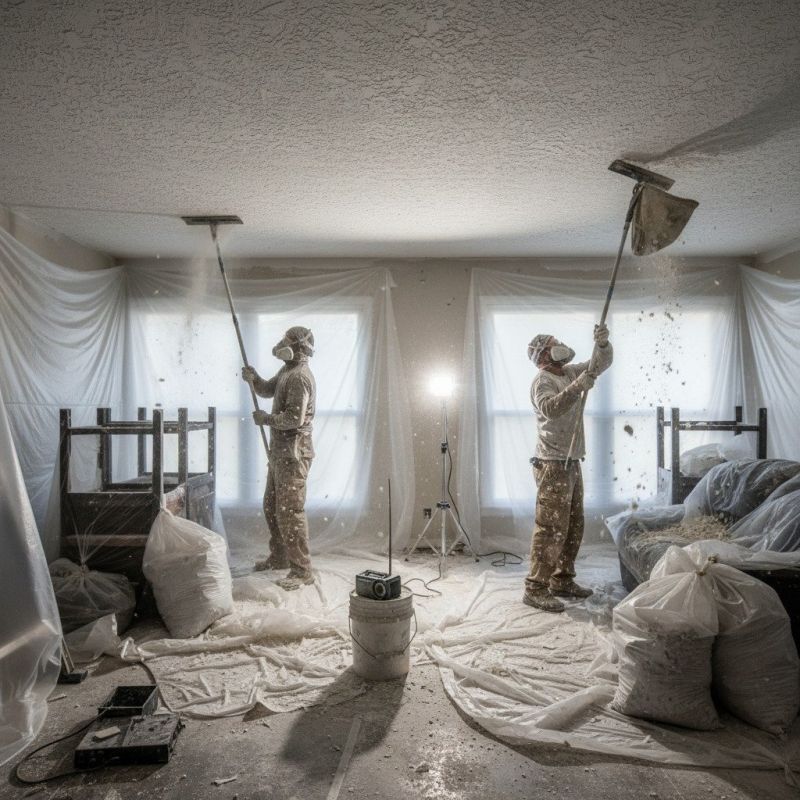
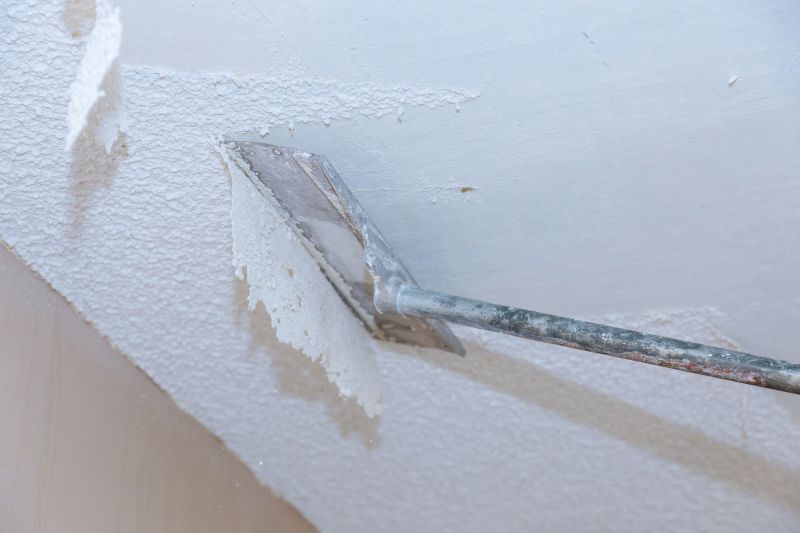
Textured ceiling removal is a common home improvement service that many property owners seek when updating or renovating interior spaces. This process typically involves carefully scraping or sanding away textured coatings such as popcorn, acoustic, or other decorative finishes from ceilings. Homeowners often pursue this work to achieve a smoother, more modern look, improve lighting, or prepare ceilings for painting. Local contractors who specialize in ceiling removal can assess the condition of existing textures, provide guidance on the best approach, and perform the work efficiently to help transform interior ceilings.
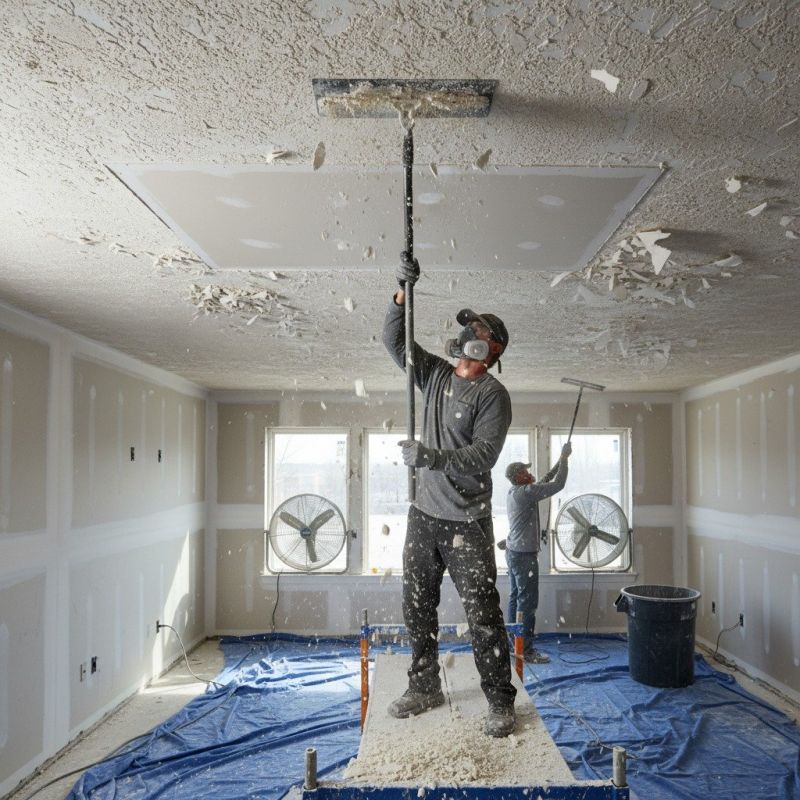
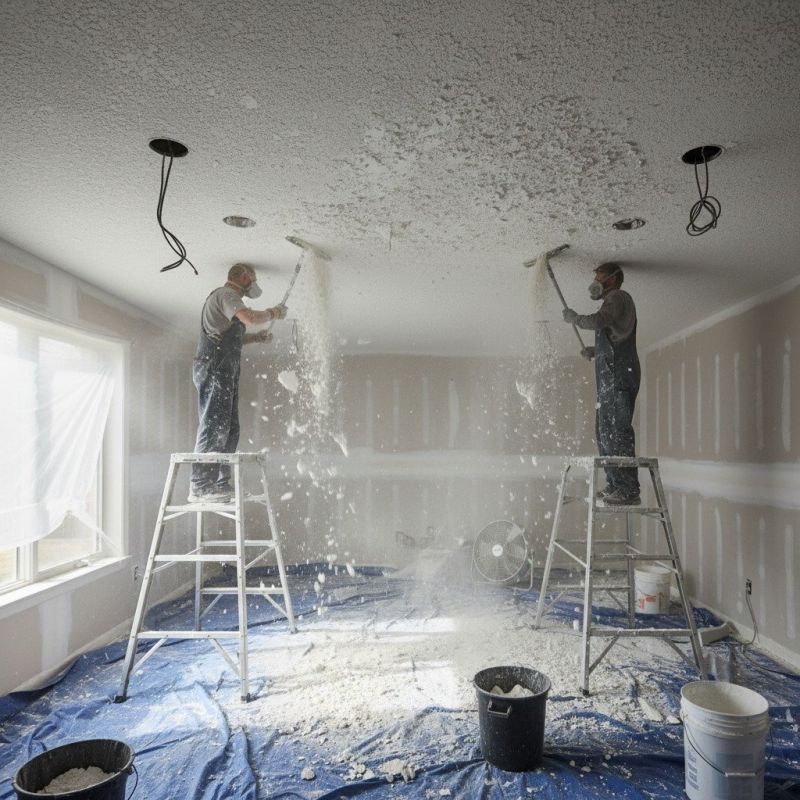
Local service providers in this category are experienced in handling various types of textured ceiling removal projects. They understand the importance of protecting surrounding areas and managing dust and debris during the process. Whether dealing with older popcorn ceilings or other textured finishes, property owners can find local pros equipped to handle the job with attention to detail. Connecting with these contractors allows property owners to compare options, find the right fit for their specific needs, and ensure the work is completed to their preferences.
This guide helps homeowners understand the key aspects of textured ceiling removal and what to consider when planning a project. It provides information to compare and connect with local contractors experienced in ceiling removal services. By exploring these details, visitors can better prepare to discuss their needs with qualified service providers in their area.